
Staking with Solflare
Step-by-step guide for staking SOL using Solflare wallet
Time Required: 2-5 minutes
Prerequisites: Solflare wallet with SOL
Prerequisites
What You Need:
- SOL to stake (purchase from Coinbase, Kraken, or Binance if needed)
- Small amount of SOL for transaction fees
Step 1: Connect Solflare Wallet
- Go to jito.network/staking

- Click "Connect Wallet" in the top right corner
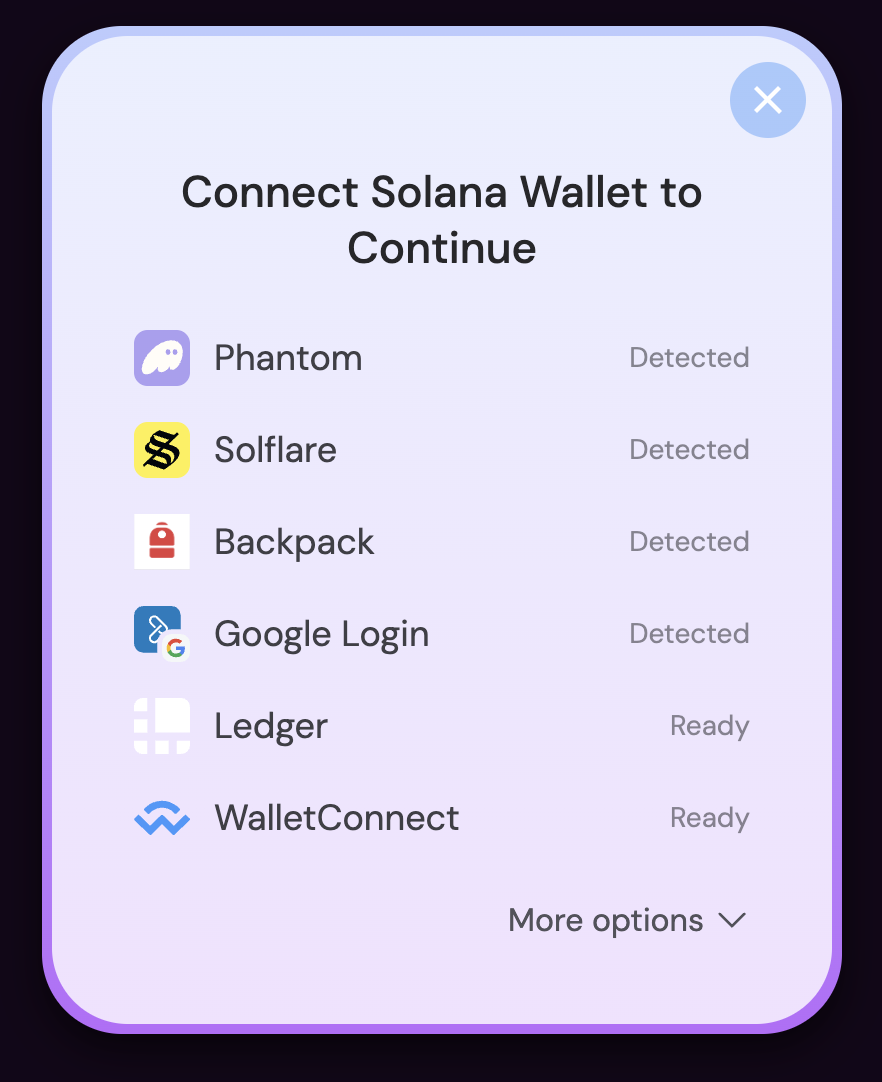
- Select "Solflare" from the wallet options
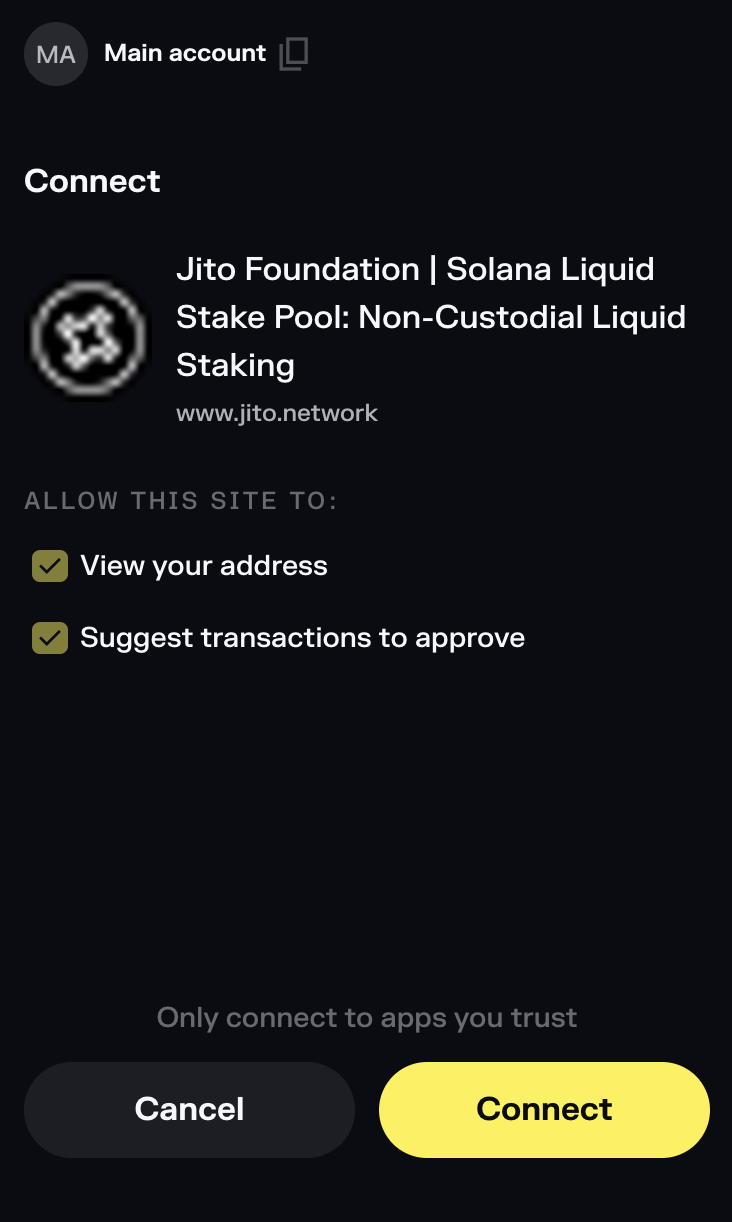
- Click "Connect" to authorize the connection (you may choose "Trust this app" to prevent future prompts)

- Verify your wallet address appears in the top right corner
Step 2: Stake SOL via Direct Mint
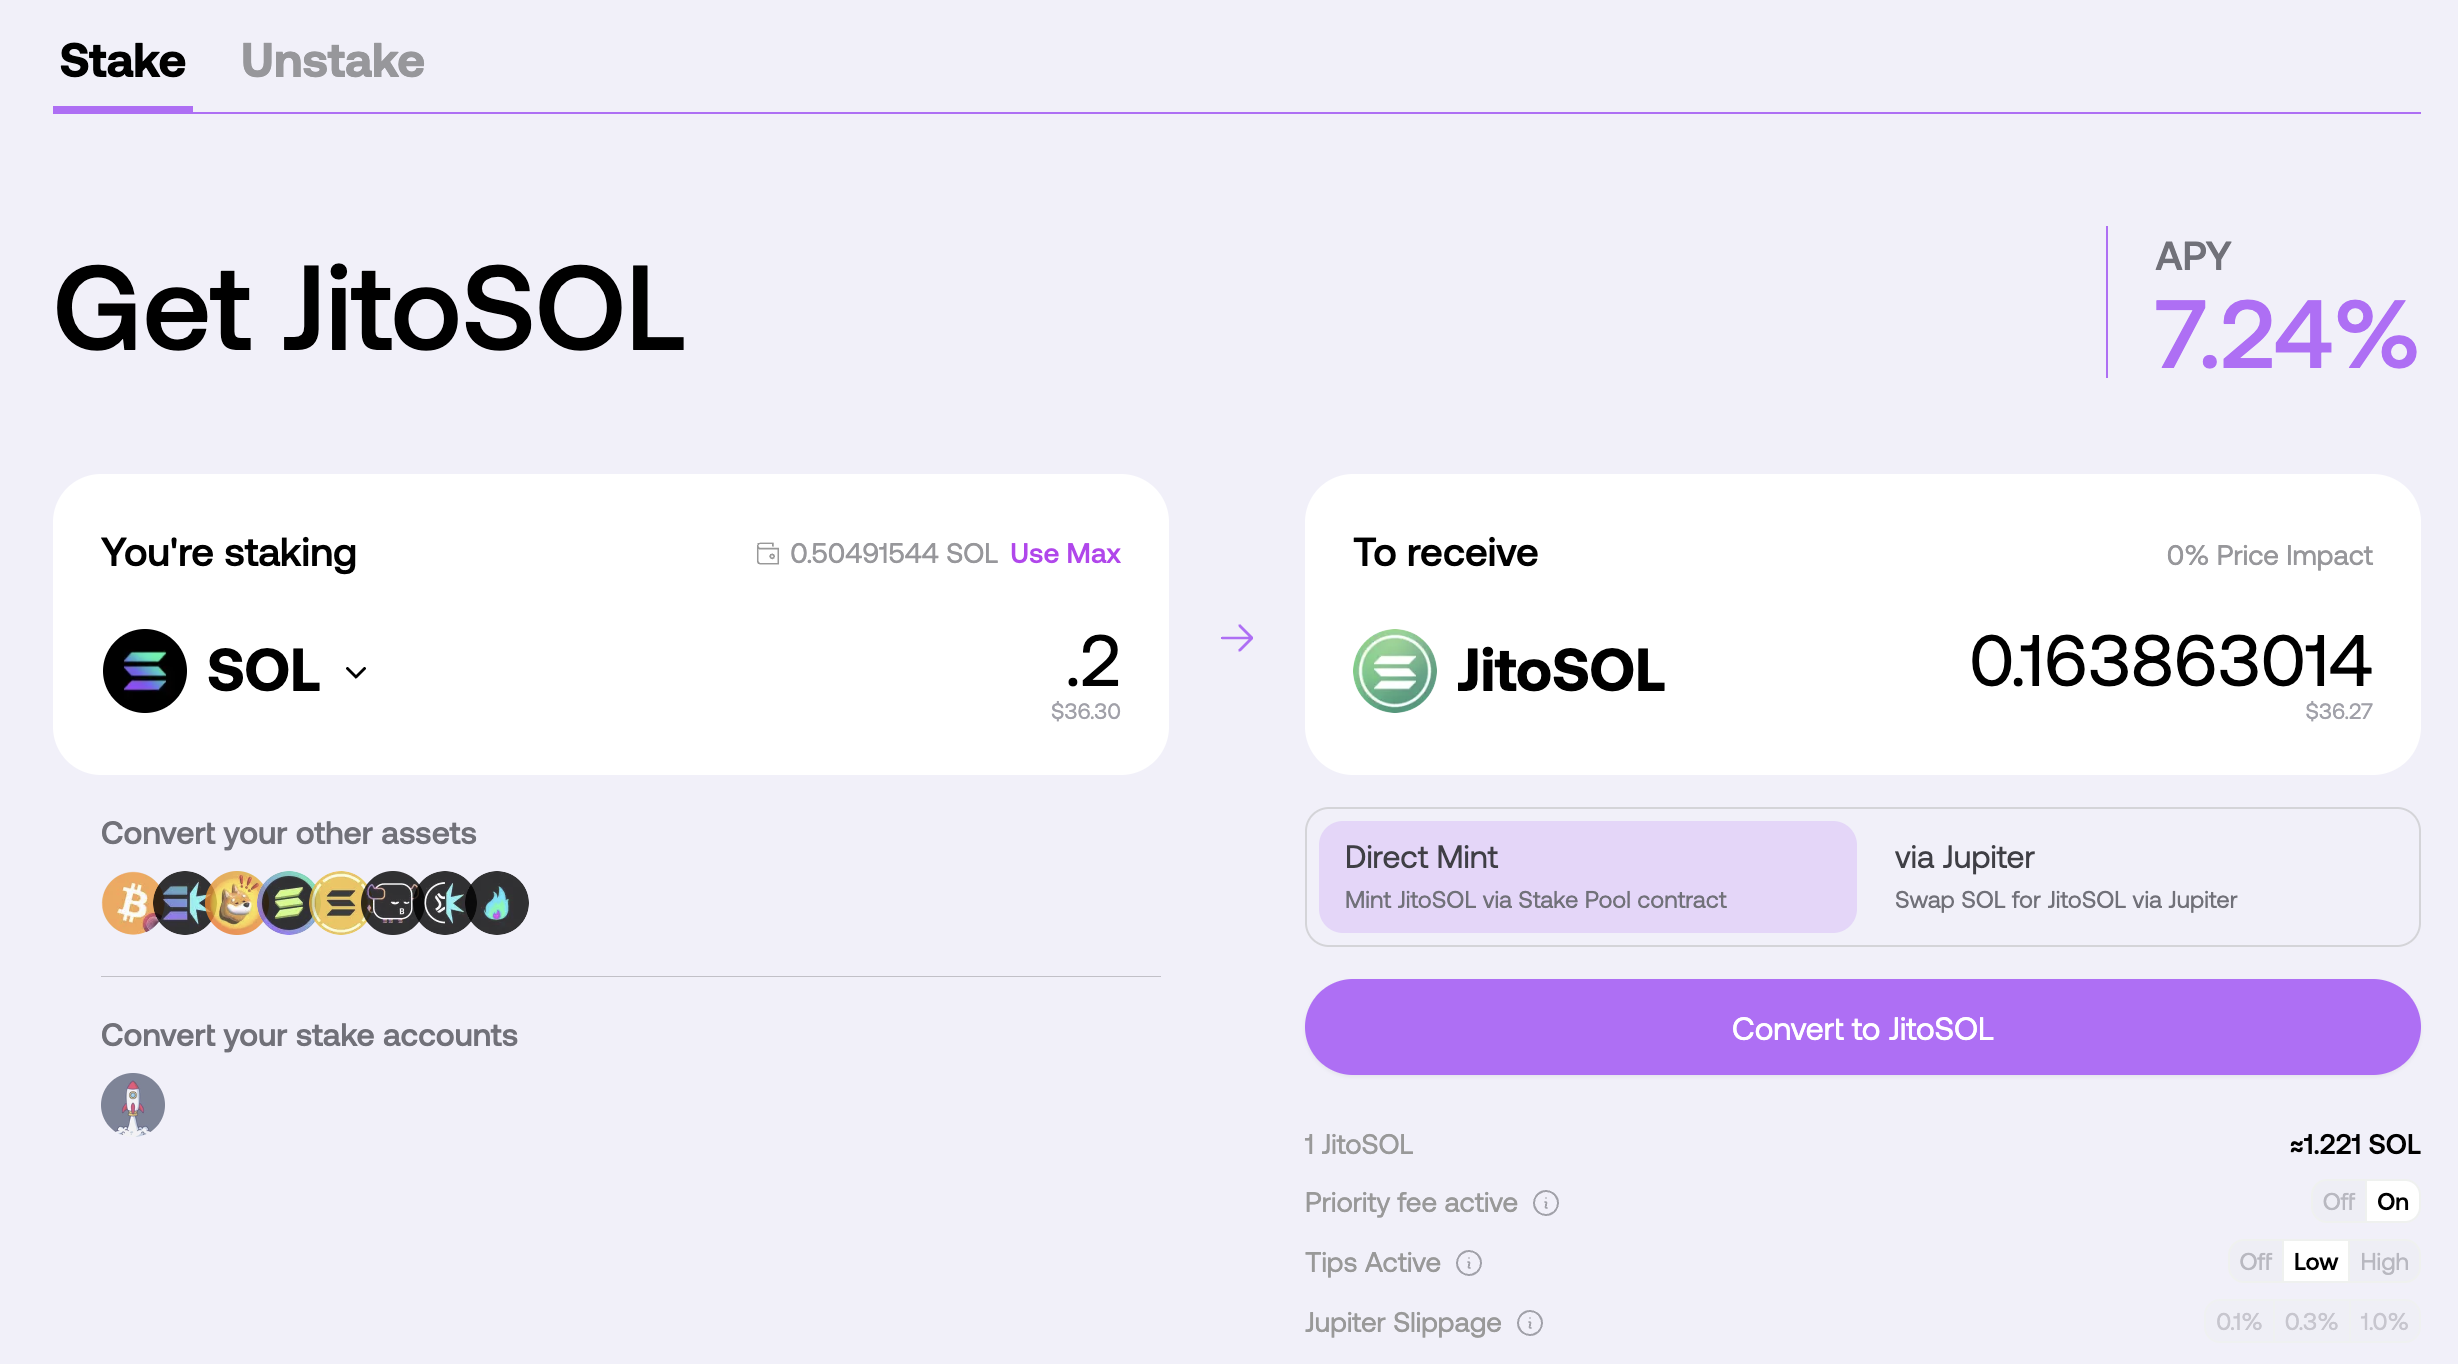
- Ensure you're on the "Stake" tab

- Enter SOL amount to stake
- Select "Direct Mint" (recommended due to no slippage)
- Review JitoSOL amount you'll receive
- Click "Convert to JitoSOL"
Other Options: You can also convert existing stake accounts or other SPL tokens (USDC, USDT, mSOL, etc.) to JitoSOL. See the main staking overview for details on these methods.
Step 3: Complete Transaction
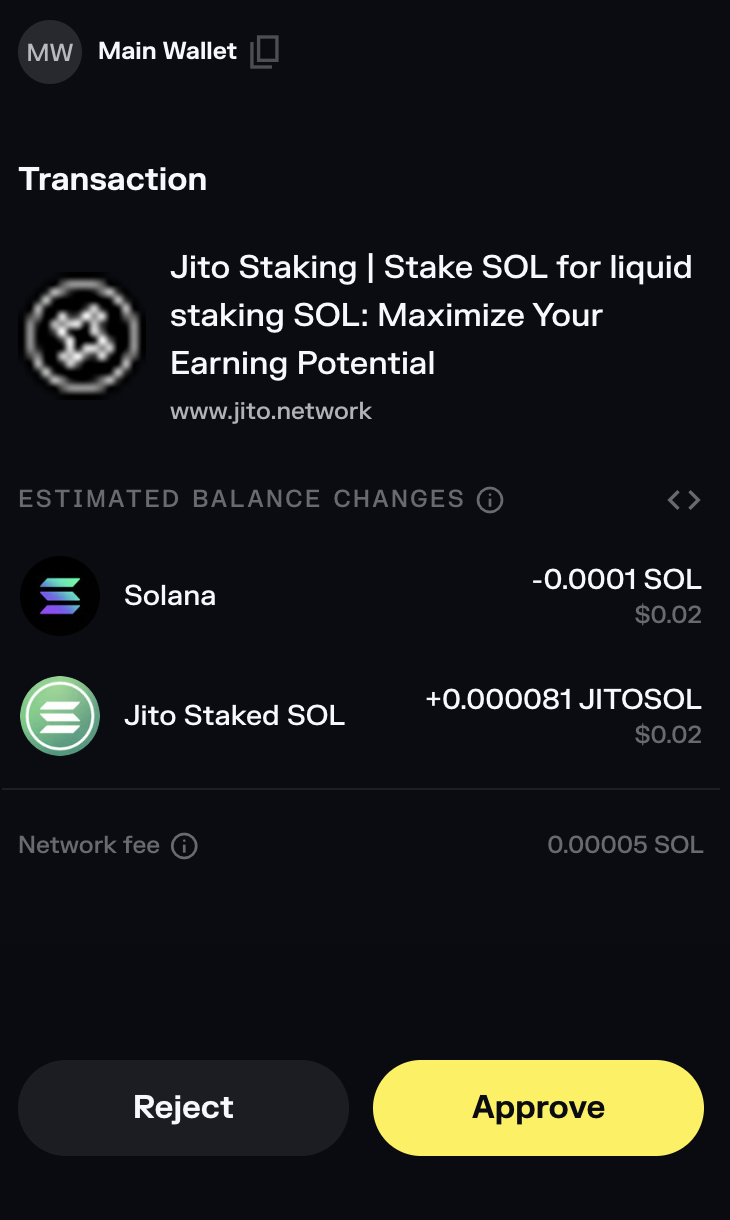
Review Transaction:
- Check JitoSOL amount you'll receive (+ amount)
- Verify SOL being spent (- amount)
- Confirm network fees
Approve in Solflare:
- Click "Approve" in your Solflare wallet
- Wait for blockchain confirmation (typically 10-30 seconds)
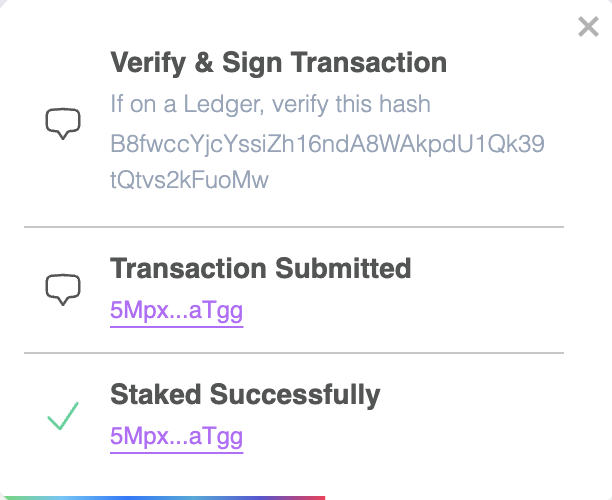
Verify Success:
- Look for success notification
- Check JitoSOL appears in your Solflare wallet
- Your JitoSOL balance represents staked SOL plus accumulated rewards
What Happens Next
Immediate Benefits:
- Start earning staking and MEV rewards immediately
- Rewards automatically compound into your JitoSOL's value
- Track earnings in the Rewards section
Using JitoSOL:
- Hold to accrue rewards
- Use in DeFi protocols (see guide or go to our DeFi opportunities page)
- Trade anytime
Troubleshooting
Transaction Failed?
- Ensure sufficient SOL for fees (~0.01 SOL minimum)
- Check Solflare wallet connection
- Refresh page and reconnect
Need Help?
- Review main staking overview
- Check FAQ section
- Join Discord community
Last updated 7 months ago